How to color
Freehand Digital Coloring: How to Practice Shading on Your Phone
Freehand digital coloring means you choose the colors and the strokes. This guide shows how to practice shading on a phone using ColorDood’s brushes, palettes, and smudge tool.
Updated December 2, 2026 · 8 min read · 1,292 words
Freehand digital coloring means you choose the colors, the tools, and where each stroke goes. There are no numbered cells telling you what to paint. Practicing shading on your phone is about learning to move from light to dark with small, repeatable steps, using the tools and palettes in the app.
The short answer is this: pick one palette, choose a light, mid, and dark shade for the same color family, lay down a light base, then add darker layers where shadows belong. Use Marker or Watercolor for soft depth, and use Smudge only to soften edges. Ten minutes of this, a few times a week, is enough to see progress.
What freehand digital coloring is
In freehand coloring, the page is line art and the decisions are yours. You pick the palette, the tool, the brush size, and the order of strokes. The same page can look very different depending on those choices, which is part of the appeal.
This is different from color-by-number, where each region has a code and the result is mostly fixed. Color-by-number is a valid hobby. Freehand simply asks you to make more choices, and shading is one of the choices that rewards practice.
The three parts of a shaded shape
Before touching a tool, it helps to name what you are building. Most shaded shapes have three parts: a base color, a darker shadow side, and a lighter highlight. You do not need all three on every shape, but knowing them keeps shading from becoming random.
- Base color: the main shade of the shape
- Shadow: a darker version of the base, placed where light does not reach
- Highlight: a lighter version of the base, placed where light hits
A simple rule for a phone screen: pick the base first, then move one step darker for the shadow and one step lighter for the highlight. Palettes in ColorDood have lights and darks rows for exactly this, so you can stay inside one palette and still get a full range.
Tools that help with shading
You do not need every tool for shading. A small set covers most needs, and learning these well matters more than trying all eleven.
- Brush: a standard stroke. Use it for edges, outlines, and small shadow lines. Set the size low for thin lines.
- Pencil: grainy texture. Use it when you want a sketchy, soft shade rather than a flat fill.
- Marker: semi-transparent with a multiply blend. Layers get darker where they overlap. Good for building depth in petals, skies, and fabric.
- Watercolor: soft, blurred dots that build up gently. Good for backgrounds and loose washes.
- Spray: airbrush-style dots. Good for softening a color into a wider area.
- Smudge: blurs color already on the canvas. Use it to blend two neighboring shades, lightly.
Fill is still useful for shading, but as a first step: fill the whole shape with the base color, then add darker and lighter layers on top. This keeps the base even, which makes the shading read clearly.
A ten-minute shading practice routine
Practice works best when it is short and repeated. Try this routine on one simple page, such as a single flower or a large geometric shape.
- Open a page with a few large shapes and set zoom to 1x to see the whole page.
- Pick one palette and choose a base, a lighter shade, and a darker shade of the same color family.
- Use Fill to set the base color on one shape.
- Switch to Marker at a medium size and add a darker pass on one side of the shape, where the shadow would fall.
- Use the lighter shade with Marker or Brush on the opposite side for a highlight.
- Use Smudge lightly only where the shadow meets the base, to soften the edge.
- Leave the canvas. The page saves to the gallery, and the session counts toward your streak.
Repeat the same shape with a different palette the next day. Comparing two results teaches more than starting a new page each time.
Using palettes for shading
Each palette has about 40 swatches arranged in lights and darks rows, plus 8 named gradients and a rainbow swatch. For shading, the lights and darks rows are the most useful: move left or right along a row to find a lighter or darker version of a color.
If a palette does not have the exact shade you want, use the color wheel in the tool dock to pick a custom color. This works alongside the palette, so you can switch between swatches and the wheel as you go.
Common shading mistakes and quick fixes
- Shading looks flat: you may be using only one shade. Add a darker pass on the shadow side and a lighter pass on the highlight side.
- Shading looks muddy: Smudge was used too heavily. Undo and try a lighter touch, or skip blending and keep hard edges.
- Colors do not match: use the Eyedropper to sample a shade you already placed, so shadows stay in the same color family.
- Shadow is on the wrong side: decide where the light comes from before you start, and keep it consistent across the page.
- Brush strokes are uneven: zoom in with a two-finger pinch and use the plus and minus buttons for steady steps, then tap Fit screen to check balance.
Related guides
For a full tour of all 11 tools, read the ColorDood brush tools guide. For help choosing palettes and planning lights and darks, read the ColorDood color palettes guide. For smooth transitions between two shades, read the guide on gradients and rainbow paint. For fine detail while shading small areas, read the zoom and fine detail tips. If a stroke goes wrong, the undo and fixing mistakes guide covers the cleanest recovery.
What this guide does not cover
This guide covers how to practice shading as a hobby. It does not teach formal drawing or color theory in depth, and it does not promise a specific artistic result. Results depend on your device, your pace, and the page you choose. Coloring is a pastime, not medical advice, and nothing here is a claim about health or wellbeing.
If something in this guide does not match what you see in the app, the app itself is the most current source. Tool layouts and features can change over time.
Free line art
Pages you can print from this guide
Every thumbnail is a real page from the ColorDood library. Open one to download the PNG or print a PDF — no signup.
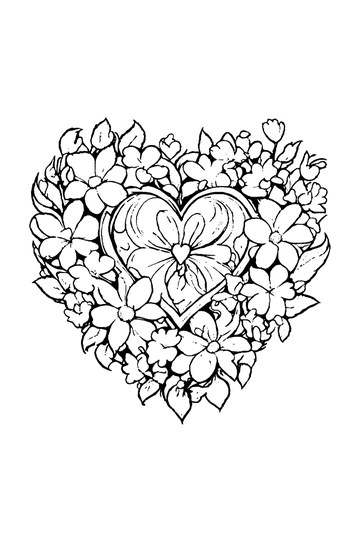
Adult Coloring Page: Heart with Flowers
Abstract Drawing of Upside-Down Sphere with Grid Lines
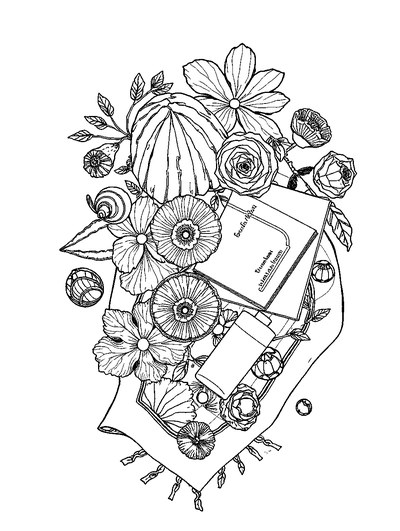
Aesthetic Beach Towel Flat Lay with Shells, Book, and Sun Lotion

Ad-Darr — The Distresser
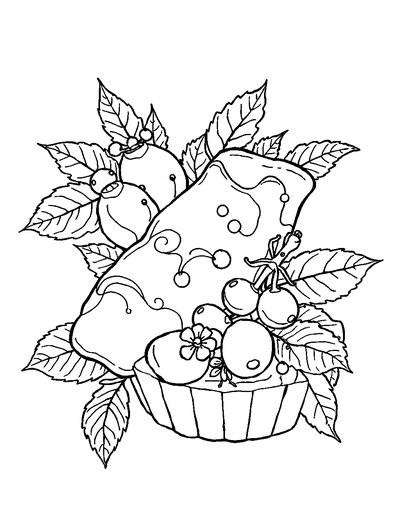
Aesthetic Glazed Fruit Tartlets Topped with Glossy Berries

1950s Vintage Convertible Roadster Parked Beside Palm Promenade
Frequently asked questions
Do I need a stylus to practice shading on a phone?
No. A finger works for large shapes and soft shading. A stylus can help with thin lines and small details, but it is optional. ColorDood supports both.
Which tool is best for soft shading?
Marker is a good starting point because it layers with a multiply blend and gets darker where strokes overlap. Watercolor and Spray also build soft transitions. Pencil gives a grainy, sketchy shade.
How do I keep shading from looking muddy?
Use fewer colors, keep strokes light, and blend only where two shades meet. If a blend goes too far, undo and try again with a lighter touch. Heavy Smudge is the most common cause of muddy pages.
Can I undo a shading mistake?
Yes. Undo steps back through recent actions, up to 12 steps. For a recent shading error, undo is usually cleaner than painting over it with the Eraser.
Does ColorDood blend colors automatically?
No. Blending is manual. You layer colors with tools like Marker or Watercolor, then use Smudge to soften the boundary. This is part of the freehand approach.
Ready to play a free coloring game?
Download ColorDood — free AI adult coloring book and coloring game with 250+ free pages (4,500+ with Premium), 50+ color palettes, PDF & HD exports (Premium), and no login required.