Product guide
Inside vs Free Mode in ColorDood: Staying in the Lines
ColorDood’s Inside mode clips brush strokes to the shape where your touch begins, while Free mode paints anywhere. Here is how each works, where to switch, and how to practice.
Updated November 13, 2026 · 7 min read
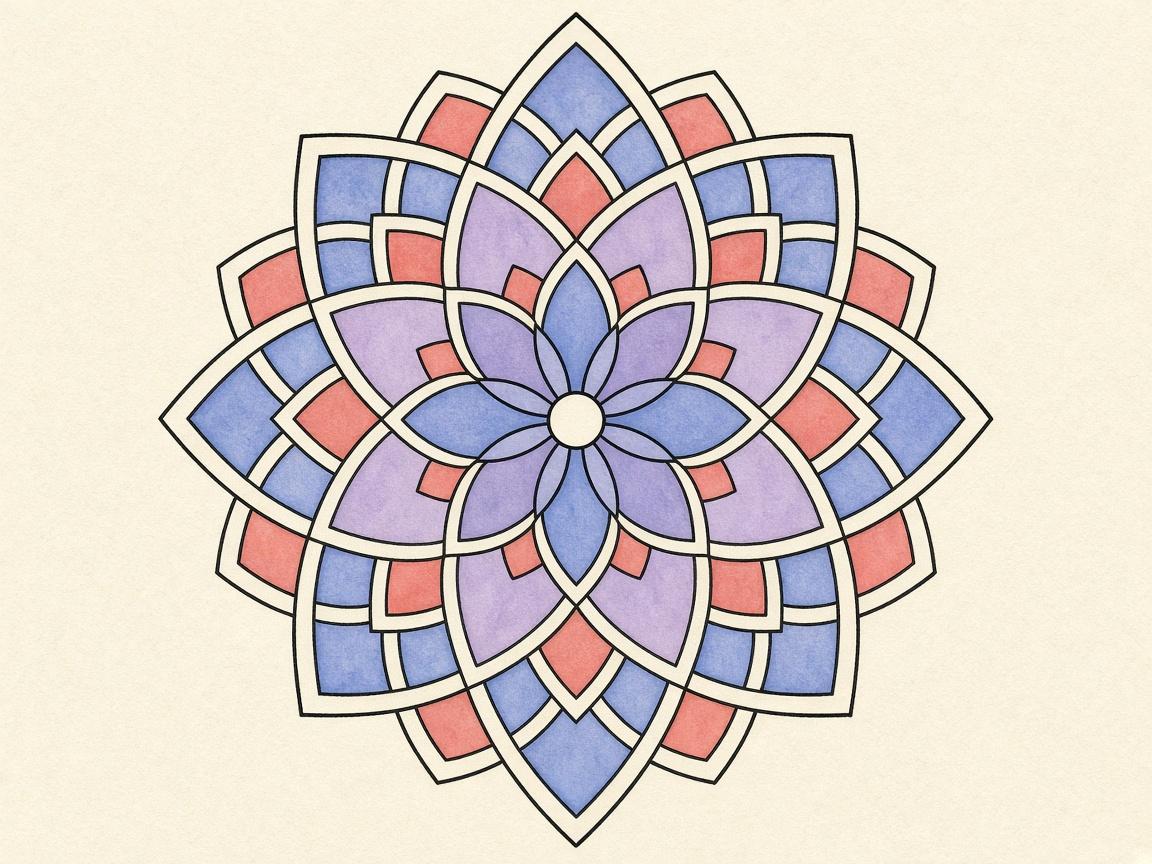
**ColorDood has two boundary modes for the Brush: Inside and Free.** Inside is the default. It keeps your brush strokes within the enclosed shape where your touch begins. Free lets you paint anywhere on the page. Both are useful. The right one depends on the page and the mood you are in.
ColorDood is a free coloring app for iOS and Android. This guide explains how each mode works, where to find the toggle, and a short routine for practicing both. Everything here can be checked in the app on your own phone.
What Inside mode does
In Inside mode, a Brush stroke is clipped to the shape it started in. If you begin a stroke inside a leaf, the color stays inside that leaf, even if your finger drifts over an outline. This makes large areas tidy and gives a clean edge without much effort.
Inside is the default for a reason. Most people want their color to stay where they meant it to. It is a good starting point for new users, children, and anyone who has not colored on a phone before.
What Free mode does
Free mode paints anywhere. The Brush does not stop at outlines, so you can add background texture, cross a border on purpose, or soften a shape with loose strokes. Some people prefer this for a more relaxed, sketchy look.
Free mode asks for a bit more care. A quick swipe can color a neighboring shape. If that is not what you want, use Undo. The undo button in the canvas header covers up to 12 steps.
How Inside decides the region
Inside works from the point where your touch starts. The app looks at the enclosed area under that first touch and limits the stroke to it. So the rule is simple: start the stroke in the shape you want to color. If you start on the white background and drag into a leaf, the stroke is limited to the background area where you began.
This is worth remembering when a page has small, connected shapes. A stroke that starts in the wrong place can look like it ignored the outline. Lift your finger, check where you began, and try again from the correct spot.
What Fill does in either mode
Fill works the same way in both modes. A tap on an enclosed region fills the whole region. You do not need to switch to Inside to use Fill inside a shape, and switching to Free does not change how Fill behaves.
A common routine is to use Fill for big areas, then use the Brush in Inside mode for shading near edges. For loose background color or a textured sky, switch to Free for the Brush.
Where to switch the mode
The Inside and Free toggle sits in the tool dock on the canvas. Tap it to switch. The setting persists between sessions, so the mode you pick will still be there the next time you open a page.
Because the setting sticks, it is worth checking the toggle at the start of a session, especially if you are sharing the phone with someone else.
When to use each mode
- Use Inside for tidy, detailed pages with many small shapes.
- Use Inside for children who are still building control over the brush.
- Use Free for backgrounds, textures, and loose sketch-like color.
- Use Free when you want to paint across a boundary on purpose.
- Switch between them within one page when a section calls for it.
A short trial routine
Pick a simple page with clear, separate shapes. Start in Inside mode. Choose one color and paint a few strokes that begin inside a shape and drag past its edge. Watch where the color stops. Then undo those strokes.
Switch to Free mode and paint the same kind of stroke across the same edge. Compare the two results. Then undo again. Finally, use Fill on two shapes to confirm that Fill behaves the same way in both modes. Five minutes of this is enough to feel the difference.
Common mistakes with each mode
The most common mistake in Inside mode is starting a stroke in the wrong shape. A child might begin on the white background and then drag into a flower, only to see nothing happen. The fix is simple. Lift the finger, start inside the shape, and try again. The shape is the thing to aim for, not the edge.
The most common mistake in Free mode is painting over a neighboring shape by accident. Slow down near the outline, use a smaller brush size, and check the result after each stroke. If something goes wrong, Undo is the quickest repair. Many people find it easier to switch back to Inside for detailed edges and return to Free only for open areas.
A third mistake is forgetting the setting. Because the toggle persists, a page you color later may behave differently from the one you did earlier. Check the tool dock at the start of each session so you know what the Brush will do.
Combining both modes on one page
You do not have to choose one mode for the whole page. A practical approach is to use Fill for the main shapes, switch to Inside for careful edges and details, and then switch to Free for a background wash or texture. Work in that order and the page stays clean while still feeling loose in the open areas.
If you are coloring a page with very small details, such as a tiling pattern with many tight shapes, take it slowly. Use a smaller brush size, keep the strokes short, and check often. Inside mode is especially helpful here, because it keeps your color from spilling into the next tiny cell.
A short checklist
- Open a page on the canvas.
- Check the Inside and Free toggle in the tool dock.
- Start a stroke inside the shape you want to color.
- Drag past an edge and watch what Inside does.
- Switch to Free and repeat the same stroke.
- Use Undo to clear practice marks.
- Pick the mode that suits the page and the person coloring.
What this does not cover
This guide does not explain every brush option. For tool details, see our guide on brush tools. It also does not cover zoom and fine detail in depth, which is a separate topic. Coloring is a pastime, and it is not medical advice or a substitute for professional support of any kind.
Finally, this guide does not promise a specific result for any child or adult. Boundary modes are a tool. What you do with them is up to you.
Frequently asked questions
What is the default boundary mode in ColorDood?
Inside is the default. Brush strokes are clipped to the enclosed shape where the touch starts. Free paints anywhere on the canvas.
Does Fill follow the Inside or Free setting?
No. Fill always fills the full enclosed region on tap, in either mode. The boundary setting only changes how Brush strokes behave.
Where do I change the boundary mode?
The toggle is in the tool dock. The setting persists, so it stays the way you left it until you change it again.
Is Free mode harder for kids?
It can be easier for some children because there is no edge to hit. Others find Inside more satisfying. Try both on a short session and see which one feels better for your child.
Ready to play a free coloring game?
Download ColorDood — free AI adult coloring book and coloring game with 1000+ pages, 11 tools, calming sounds, and no login required.